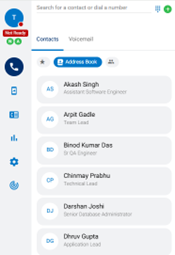
Easily access all Outlook contacts via your nVX user portal. In this article, we will walk you through creating a new contact in Outlook and accessing them through the nVX user portal.
Open your Outlook application. Navigate to the Contacts tab and click the ‘New Contact’ button. Complete the required details for the contact and click Save & Close button.
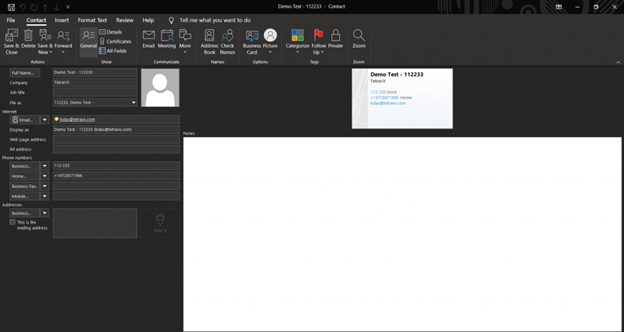
A new contact has now been created in your Outlook directory. This Outlook Contact Directory is synced with nVX, enabling you to see this new Contact under the Contacts tab in the nVX user portal.
Open the nVX user portal. Navigate to the ‘Address Book’ tab to see a full list of Outlook contacts, or use the search bar to find a specific contact.