
DOCUMENTATION

Installing the WebRTC Network Limiter

Extension for Google Chrome

This article will walk you through how to download and configure the WebRTC Network limiter Chrome Plugin.

The WebRTC network limiter extension is only needed if a delay issue occurs when answering inbound calls.

To download and install:

‍

Step 1

Visit the below URL using a Google Chrome browser window.
https://chrome.google.com/webstore/detail/webrtc-network-limiter/npeicpdbkakmehahjeeohfdhnlpdklia?hl=en

‍

Step 2

Click the ‘Add to Chrome’ button

‍

Step 3

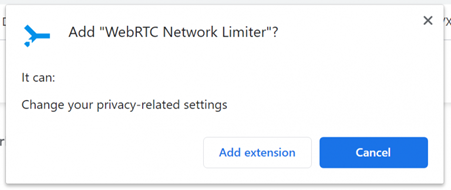
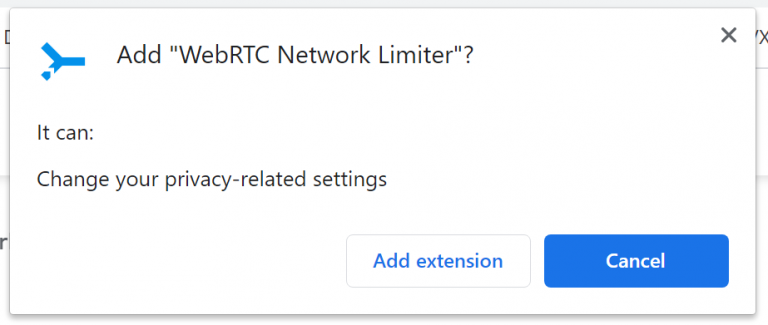
In the pop-up, click the ‘Add Extension’ button.
‍

Step 4

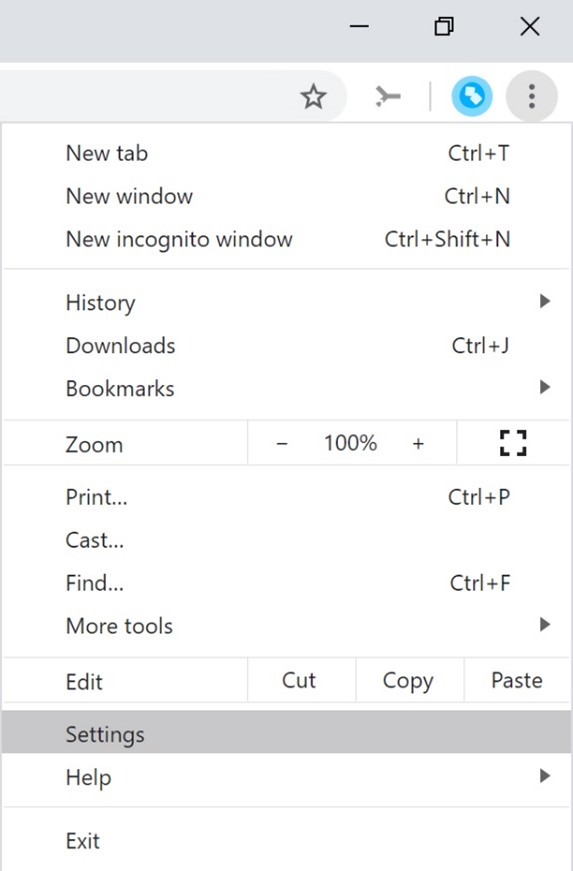
Go to the ‘Settings’ page of your Google Chrome browser.
‍

Step 5

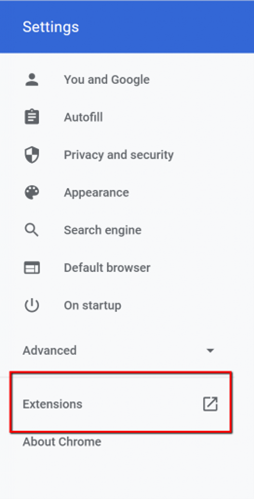
In the left column, click on ‘Extensions’
‍

Step 6

Click on the ‘Details’ button for the WebRTC Network Limiter.
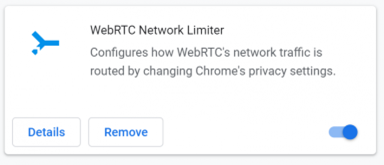
Browser extension card for WebRTC Network Limiter with its icon on the left, description about configuring WebRTC network traffic by changing Chrome privacy settings, buttons labeled Details and Remove, and a toggle switch turned on.

‍

Step 7

Click on ‘Extension Options’. Note, you may need to scroll towards the bottom of the page to view this option.
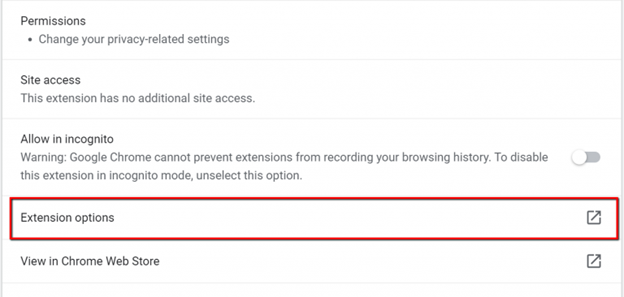
Browser extension settings page showing permissions for privacy-related settings, no additional site access, a toggle switch to allow or block incognito mode with a warning about browsing history recording, and links for Extension options and View in Chrome Web Store.

‍

Step 8

Select ‘Use only my default public IP address:’.
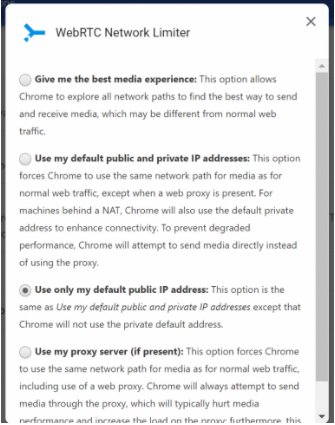
WebRTC Network Limiter settings with four radio button options to control media connection path in Chrome.

‍

Step 9

Closeout the ‘Pop Up’ and ‘Settings’ tabs. Exit Google Chrome and re-open a new Google Chrome browser window.

‍

February 13, 2025